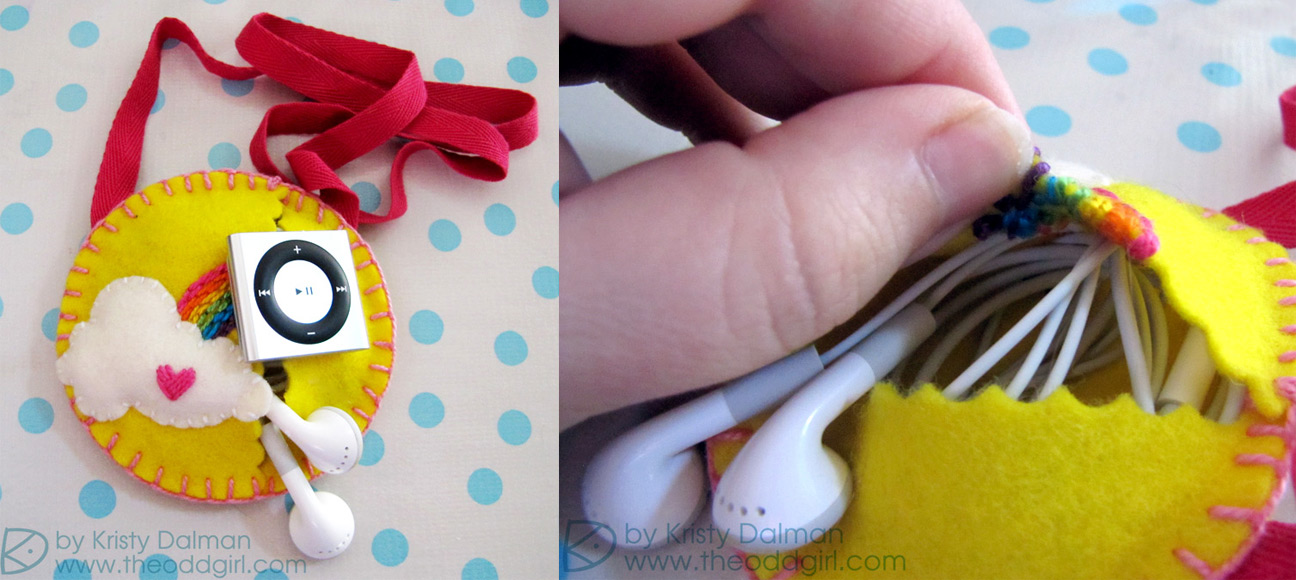
A few weeks ago my hubs won a iPod Shuffle from a work contest. He already keeps his music and podcasts on his smartphone so he had no use for it AND the shuffle was so small that while he wanted to give it to our daughter we all know it would be lost in less time than it took to listen to one of the songs. So I came up with this solution to not only give her a bigger brighter place to clip the shuffle to but to put the headphones in and a handy necklace to keep it contained.
For today’s tutorial I’m going to show you how I did it!
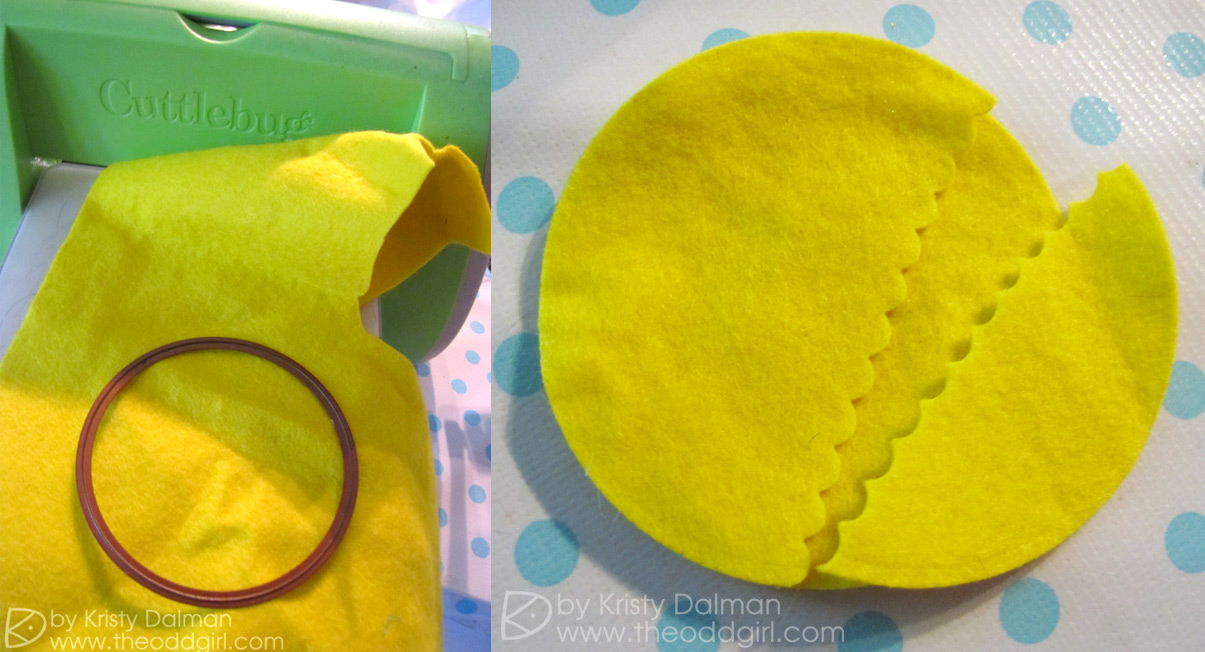
First off you need to grab some felt, your die cut machine, and a circle die of the size you need to hold the headphones (I’m using the middle size of the spellbinders circle dies). Then cut out 2 circles.
Then take a pair of shears (mine happen to be scalloped fabric shears) and cut about one third from one of the circles. This is going to be the front of your pocket necklace.
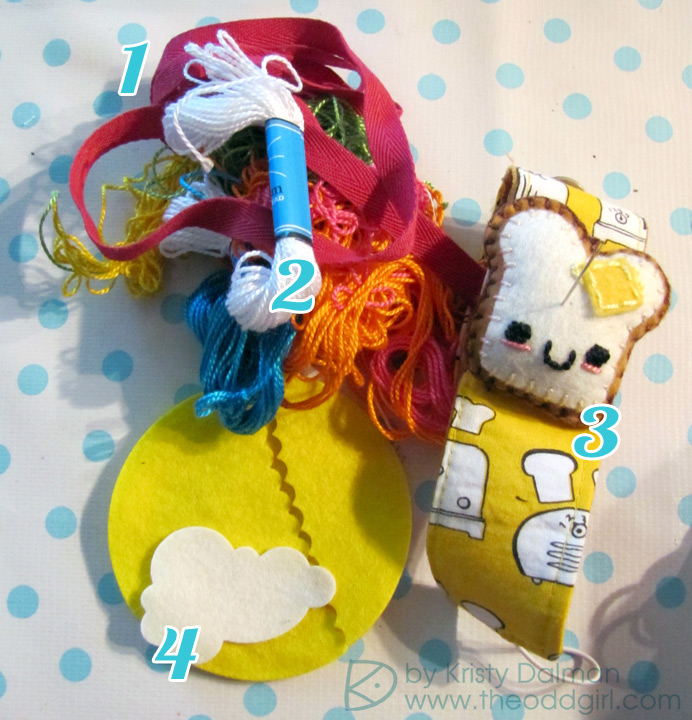
After that you get to have the fun of decorating it before sewing it together so lets gather the rest of the materials we’ll need. Here’s what I used…
1) Twill Ribbon
This is what the cord of your necklace will be made out of so cut the length you’ll want it to be. You can also use yarn.
2) Embroidery Floss
You’ll want all the colors you’ll need to sew it together and any decorations.
3) Pin Cushion, 2 Pins and Needle
4) Decoration
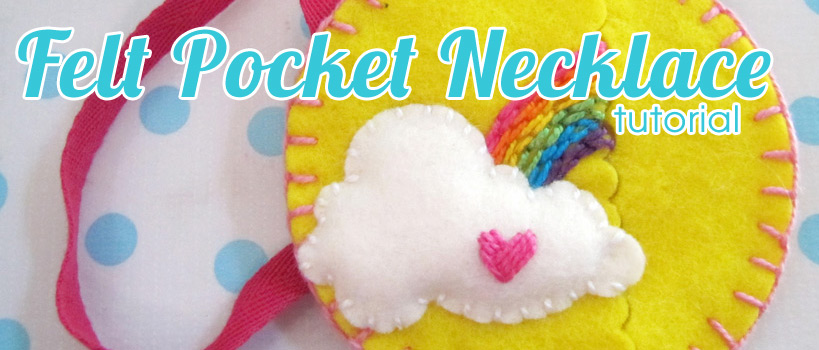
The yellow circle looked like a big sun so I decided to cut a felt cloud and do a rainbow motif.
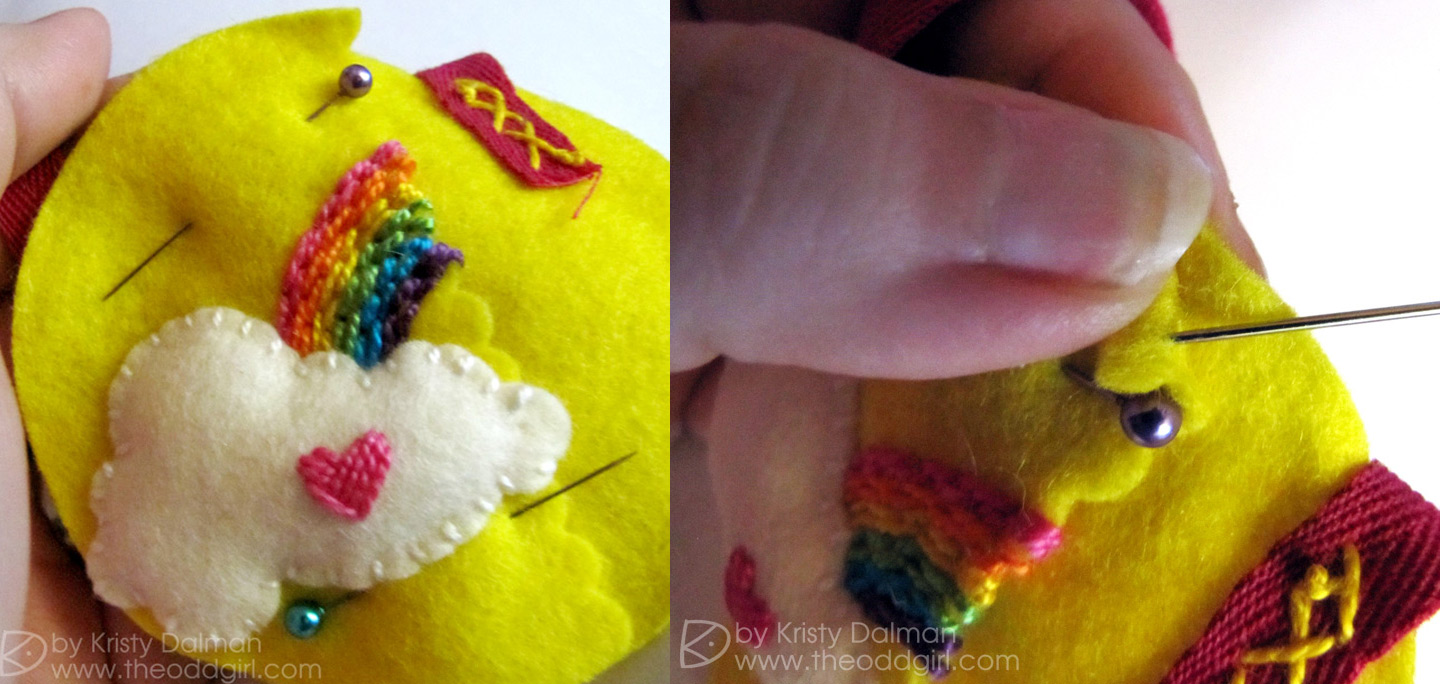
The first thing I did was to use a Satin stitch to create the little heart on the cloud. Then I placed my cloud where I wanted on the larger half of the cut circle and tacked it down with small stitches then right before coming all the way around I stuffed in some cotton to poof up the cloud.
After the cloud was all puffy, I used more satin stitches in an alternating pattern to add my rainbow. A Satin Stitch is just a series of flat stitches that are used to completely cover a section of the background fabric. You can do it with a simple back stitch.
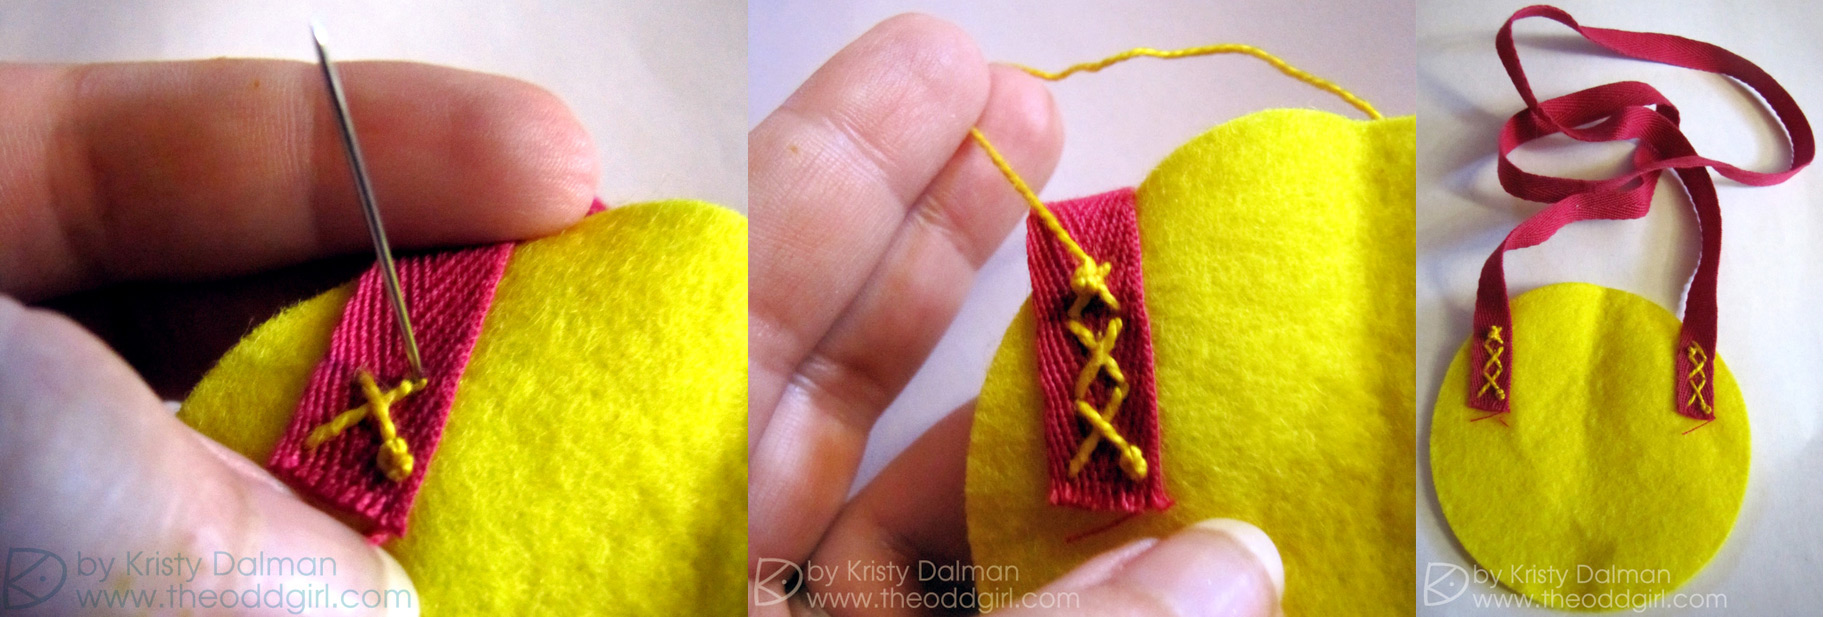
Next you need to sew the twill ribbon to the back of the pocket. You want to sew it in about an inch and on the top of the back piece so it will be on the inside of the pocket. Use a thread that matches your felt so you won’t notice the stitches on the outside as much and stop your stitches about a quarter inch from the edge of the felt so when you sew the pocket together you don’t get any big lumps. Also make sure that the ribbon is stitched in parallel to each other so it hangs straight.
Now we are all ready to sew it together!
First pin the large side of the front, with the cloud, to the back. Make sure the edge of the pocket is parallel with the ribbon so everything is straight.
Then you will start sewing the pieces together using a blanket stitch. Start at the top or bottom of the pocket and start the stitch between your layers of felt to hide the knot. Now just Blanket Stitch all the way around, repeating the pinning with the second half of the pocket but don’t start over on your blanket stitch, just pause pin and continue.
That’s it!
Now you have a cute little necklace that will help contain your tunes but be visible and hard to lose.








Rachel Parys says:
Shut the front door!! That is too cute!! I can’t let Maddie see this or she’s gonna want me to make one!! lol!! Great idea woman!
Sue D says:
This is so cute–thanks for the tutorial!
Billie A says:
This project is just to die for. I love it and the directions are so easy to follow. Great tutorial. I am sure your daughter will love it and how proud to have an awesome display of the necklace. Wonderful.
Kimberli Sarsfield says:
Now that is just plain cute and smart! I am definitely not very good at sewing but I know my daughter would love something like that. I think that may be a Christmas present for her. Thanks for the awesome tutorial!
Andrea says:
Very cute!
wendi R says:
this is sooo, sooo cute!!!! LOVE How adorable!!!
rachel mutchler says:
This is adorable can’t wait to give it a try will make cute gifts for Christmas
Judy B says:
This is such a cute project. I would love to make one for my daughter.
Lynda says:
Oh my…that is just totally adorable…my girls would love these!!!
jessica says:
What an awesome idea!! And it turned out WAY TO CUTE!!! Thanks for sharing such a fun project!!
eva says:
oh my gosh, that is so cute! i love the heart! i think this would be cute for the tooth fairy too.
Sheila says:
How creative!! That’s a memory she will have for a lifetime.
Rae Ann says:
I need one of these! I can’t ever find my headphones! Such a creative and fun idea.
Loz ♥ says:
this is adorable!! I love it 🙂
Laura Karaba says:
WOW! You could probably patent and sell these! Awesome! (Thanks for the chances to win free stuff to feed my papercrafting addiction!)
Carly W says:
wow! gorgeous and so clever!
thank you for sharing.
xoxoxo Carly
ooohhh I love the bright colours!
Lucianna says:
Oh my goodness that is so cute!! What a great tutorial and such a sweet gift 🙂
Lani says:
WOW so darn adorable!!!
Lizzie O says:
ADORBS!