Hello Michelle here from My Analog Life.
First, thanks Kristy for asking me to join the party!
I love Some Odd Girl stamps!
I can’t draw or color using anything but crayons so Kristy’s talent looms large for me.
So I pondered what I would share with you for many weeks.
Actually, I freaked out on a daily basis.
What in the world do I have to teach?
Everyone already knows how to glue paper onto paper!!!
But I REALLY wanted to be part of the fun.
So I though- “Ok it’s basic- but how about embossing on vellum paper?”
The catch?
I used a digi stamp.

Heat-Embossed Digital Stamp Place-cards.
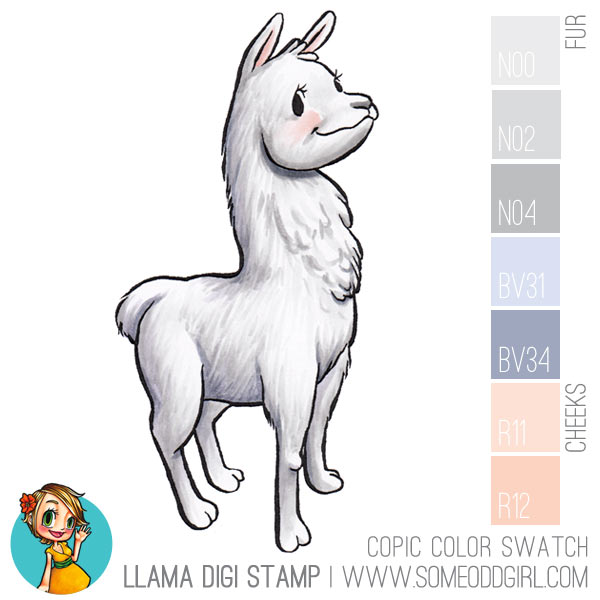
This will only work using a slick surfaced paper like Stardream paper (a coated metallic/pearlescent paper) or vellum.

-
Using Photoshop or other photo retouching program (are there others??) Place 4 to 6 turkeys on an 8.5 by 11 piece of vellum. The amount of turkeys you use depends on how large you want your place cards to be. I wanted 2 by 3.5 fold-over cards so I fit 4 per page.
-
The moment the paper comes out your ink-jet printer hit it with embossing powder. The slick paper surface should stay wet for a few seconds but results vary from printer to printer so do it right then and there.

-
Try to knock off as much powder as you can- or better yet- use clear embossing powder and change the color of your ink. I live dangerously so I used gold powder and ignored with the stray bobs of run-away embossing powder.

-
Using your trusty ruler or Scoring-board, score a horizontal line down the center of your card leaving the top of your turkey unscored so it pops out of the design.

-
Cut out the turkey’s head using a craft knife and wham-o- you have a card!
-
I got fancy and added a card stock base and corner punches but you can do this with heavy-weight paper and it will still stand up nicely.
I know it sounds time consuming but it’s actually quite fast once you get past all the mistakes you’ll make on the first card. And also- it’s sure to impress the MiL- which is my main goal this year because frankly- my flan is lacking.

Smooches!


Sara Schumann says:
Very cute idea!
Nick says:
Cool, I have never tried to heat embossed a digital stamp. I didn´t even know you could. I have to try this! TFS
Rachel Parys says:
So smart!! I love how they turned out!!
jessica says:
Ok these are just too adorable!!! LOVE the idea of the embossing on vellum! Thanks for sharing this adorable project!
eva says:
wow, super neat idea! will have to try this one day but i hate my printer! it’s so fickle.
Billie A says:
How awesome, I never thought of using a digi and embossing but it makes sense now that you told the details. Great image and fun to make project. Love the gold embossing for the turkey and will make a great name plate. Love it. Thanks so much.
Kimberli Sarsfield says:
Cute idea! I love the gold embossing powder–makes quite an impact:)
Sheila says:
Awesome tutorial! Great idea.
Amy O says:
I need to get some appropriate paper. I tried photo paper once but it bubbled and POPPED open – an actual tiny little explosion of sorts! I don’t recommend trying it.
rachel mutchler says:
great idea I have never tried this but just may have to give it a go 😉
Michelle Hernandez says:
Thanks everyone! One thing to watch for is that card stock weight Stardream paper is pretty rigid so it won’t run through many home printers. I had to use a text weight version which is why I have a 2 layer card- but other than that this project was pretty easy to finish.
Judy B. says:
Great project!!
Rae Ann says:
What a great idea! Thanks for figuring it out and getting the messy part figured out for us. I will definitely have to give this a try.
Andrea says:
I need to try this! Thanks for the great tutorial!
Sue D says:
These are so cute–I like the embossing!
Laura Karaba says:
SO sweet! I need practice at embossing, so thanks for the refresher course! (Thanks for the chance to win free stuff to feed my papercrafting addiction!)
Carly W says:
adorable! now I wish I had an ink jet and not a laser printer 🙁
Thank you for sharing your wonderful technique.
xooxo xCarly
Lucianna says:
What a great idea and super cute 🙂
Stephanie-Emma says:
oh my goodness!! I did not know you could do this! fantastic! xxx
Lizzie O says:
super neat!!
Linda F says:
Thankyou for the fantastic idea and the giggles about impressing the MiL. cheers Linda