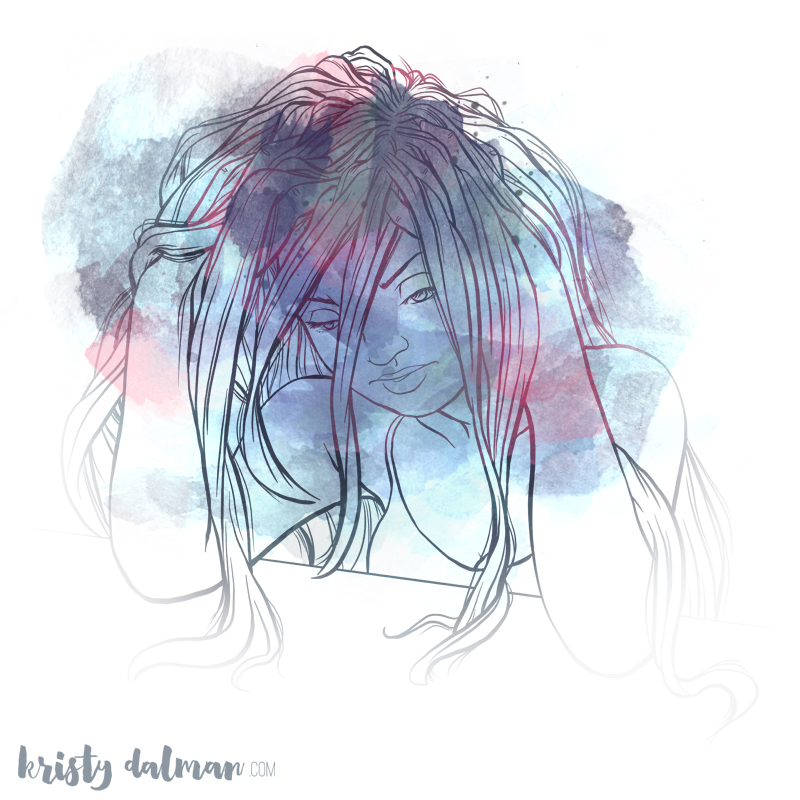
Hi everyone! Its Alyce back today with Part 2 of my Skin and Hair tutorial. Yesterday I shared how I colored Skin, today I will show you how I color hair using Alice Mae digi stamp from Some Odd Girl. Just as a reminder this is the final product we are heading toward…
![]()
Ok! Let’s get started!
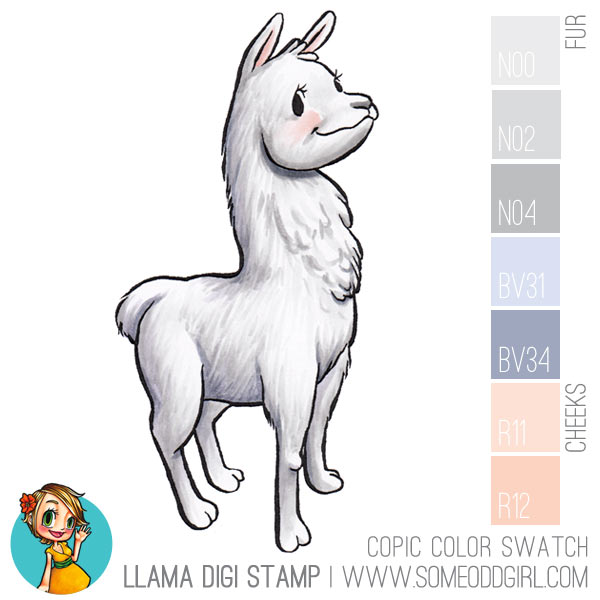
HAIR COLOURS USED: Y21, YR23, E33, E35
Step 1: To start off with her hair, I use my lightest marker (Y21). Again I like to go from light to dark as it allows me to see where the highlights are and adjust as I go rather than laying down the darker colours and doing it wrong from the start. As my light source is at the top right, I make all of the ‘highest’ parts of her hair the highest as you can see in the top of her hair. The technique that I use here is feathering, flicking the marker down to create thin strokes that resemble strands of hair. In this first step you don’t have to worry too much about defining the streaks, but rather just laying the colour down.
![]()
Step 2: As we work our way up to the darker markers you can start to pay more attention to the fine detail of your streaks. I have used the YR23 here and have feathered the strokes starting from the darkest area and flicking toward the lighter areas. When I go darker, I make sure that the flicks don’t go as far as the lighter colour underneath so you get a nice gradient of colour and that highlighted band is stronger.

Step 3: I repeat Step 2 with E33

Step 4: I repeat Step 2 with E35 and, as this is my darkest colour, I pay particular attention to creating really thin and defined strokes.

Step 5: Again, I am going to save you some photos but I have gone back over the E35 with the E33, and over the E33 with the YR23. I then go in with my Y21 and do a really quick flicking blend over the white areas to add some more colour. To finish it all off, I like to go over it again with my darkest colour (E35) just to really strengthen the darkest areas and add that final touch of definition. And now her skin and hair are all done! 🙂

Thanks for sticking through the tutorial and hope it has helped you in some way. If you have any questions please don’t hesitate to leave a comment below or on my blog and I will try to help as best I can. And once more…a HUGE happy birthday to you Kristy!!! Thanks for stopping by 🙂


Sue D says:
I like this feathering technique for the hair–will have to try this.
Lani says:
Gosh your style is so incredibly stunning! Thanks so much for the tutorial! 🙂
Shazza says:
loving those colours, need to go shopping!! x
rachel mutchler says:
Your coloring is beautiful thank you so much for sharing with us!
Net says:
Oh wow your colouring is fantastic!
Amy O says:
You make it sound so easy! 😀 Can’t wait to try it!
jessica says:
gorgeous coloring!!! I will have to give this a try! Thanks for sharing part 2 of Alyce’s beautiful coloring tutorial!
Have a GREAT weekend!!
jessica
chick-n-scrap.blogpsot.com
Andrea says:
This is so gorgeous! Thanks for the step by step, love it!!
Linda Carson says:
You make it look so easy! Love the colors you used. Thanks so much for the step by step tutorial. It is truly appreciated!
Arabella says:
Happy Birthday Kristy! And fab tutorial Alyce!!!
Arabella
Judy B says:
Loved both parts of the tut. Thanks for sharing with us. 🙂
Liz O says:
Your tutorial is fabulous, thank you for taking the time to share it!
Have a wonderful day!
eva says:
love this tutorial too! thanks for the step by step!
Kimberli Sarsfield says:
You make it look awfully simple! I wish mine looked like that but I will keep on practicing! Happy Birthday, Kristy!
Loz ♥ says:
looks so gorgeous! i need so much more practise 🙂
Lucianna says:
Beautiful hair color, love the combination! Thanks for sharing with us 🙂
Linda W. says:
Thank you for the hair coloring tutorial something that I need to learn
thanks for sharing
Rae Ann says:
Love this! The hair is to die for! Beautiful!
Cyndi Elliott says:
She is beautiful, thanks for taking the time to share.
Sheila says:
Thank you for the training! Your coloring is simply stunning.
Billie A says:
The hair coloring is beautiful thanks so much for the tutorial. I for sure learned.
Lynda says:
she’s fabulous!!!
damaris velazquez says:
I just LOVE your coloring Alyce!! HUGE FAN!!
x0, Damaris
Weekly Round-Up! - Created from Color says:
[…] Hair and Skin Coloring Tutorial PART 1 and PART 2 – From Alyce Keegan who has a wonderful style and demonstrates her technique thru many great […]
Jennyfer L says:
Wow! Wow! Wow! I so love how you did the finish on this one…Lovely and TFS!
Annette says:
Oh it is so not fair Alyce, you make it look far to easy! I love your amazing colouring, thanks for the tutorial, take careX:)
DebraK in Florida says:
awesome hair! I also love the way the nose is so dimensional on this digi–I haven’t tried that yet but I must soon. I makes so much difference in the depth of the face. I guess the key to all this is practice, practice, practice…. 🙂
Linda F says:
Thankyou for the tutorial. Boy I wish I could do the awesome highlights like yours Alyce. cheers Linda
anat - tshupile says:
Thanks a lot for your step by step tutorial. I needed that….
(:
Anat (tshupile)
Dena says:
Thank you so much for sharing your amazing talent!!!! I will have to try this! Your coloring skills are over the top gorgeous!!!
Hugs, Dena