
I don’t know about you but I like Monday’s and with a new video every Monday on my YouTube Channel its definitely all good (and its when its quiet around here again so *bliss*).
Today is Movie Monday, Digital Stamp Editing: Adding Motion
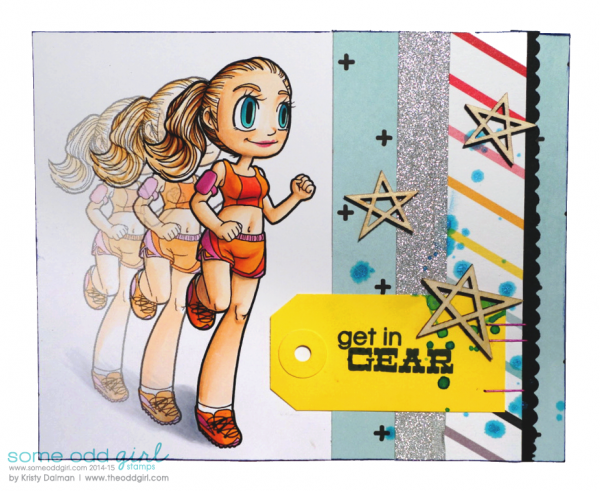
Here is the card I created using the technique I share with you in the screen capture video tutorial below using the Digi Stamp Jogger Mae.
Want to see how I did it? Watch this video to find out…
Pretty easy, eh?
To do my editing I am using Open Office, a free to download office suite, I use it for all my digi editing. When coloring the image with my copic markers I made sure to use color groups I knew I could go progressively lighter to help enhance that illusion of motion.
| Figure 1 Skin: E000, E00, E21, E13, R11, R34 Hair: E50, E51, E53, E55, E57 Eyes: BG32, BG45, BG75 Clothes: YR04, YR18, R14, R37, RV55, RV66 |
Figure 2 Skin: E000, E00 Hair: E50, E51, E53 Clothes: YR00, R02, RV52 |
Figure 3 Skin: E000 Hair: E50, E51 Clothes: YR000, R00, RV10 |
| Shadows: C0, C1, C3 |
Here’s a closer look at how I used it on my card
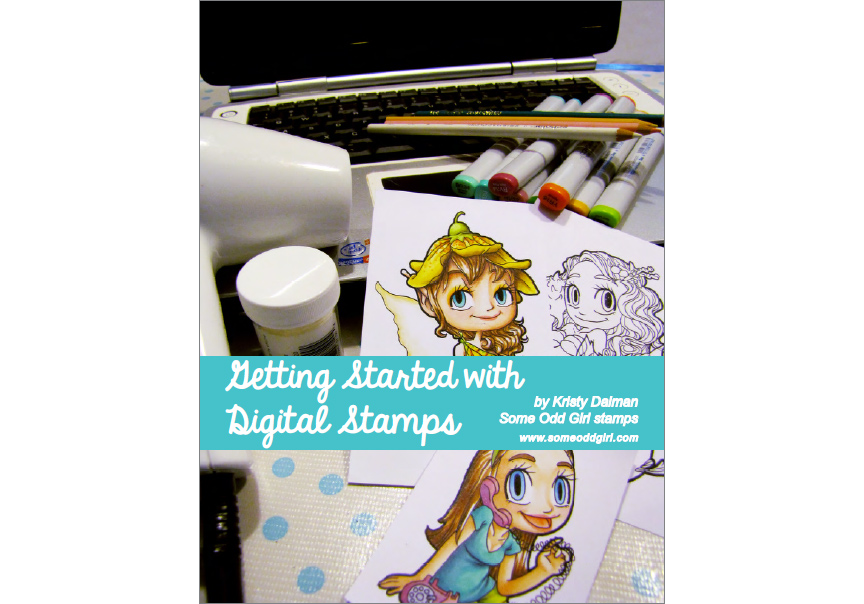
In the video I mentioned the free ebook from Some Odd Girl stamps that shows you how to get started with basic editing. Just in case you haven’t gotten your own copy, you pretty much need it. It has a lot of great details for even seasoned pros.
If you’d like to see another example of this technique in action check out Tabbatha’s Skateboard Tobie card!
What do you think? Are you going to give it a try? If you do, and with a Some Odd Girl digi stamp, make sure to link it up to our monthly Linky Party in our blog’s sidebar! THEN Pin it to our group Pinterest Board, you could be the Pin of the Week!
I hope you liked this tutorial! Make sure to SUBSCRIBE to our channel for a new video every week!


Rene' says:
What a fantastic tutorial!! Thanks for sharing!