Tuesday T

I don’t have a super good name for my Tuesday post plan so if you have one leave it in the comments, I could use the help LOL. Tuesday I would like to do some sort of tip/technique/tutorial thing, hence the “T”.

Today in the mail came a lil goodie that I hope is going to be a big help to me as the days get shorter around here and sunlight is at a premium. I placed an order for a light tent. Crafters are always trying to get the best pic possible and I had wanted to make myself one for quite a while but the space one of these would take up kept me from it. I went thru last winter going from window to window looking for some good light and this summer taking projects out to the porch or in the grass for some good natural light. But with winter coming back around, I went back to thinking about the light tent. I finally broke down and ordered one and think its going to be a love-love relationship. The one I got is purty sweet (and cheap I think) bc it collapses into a tiny bag and came with 4 colored backgrounds (black, grey, blue and white but you can use anything).

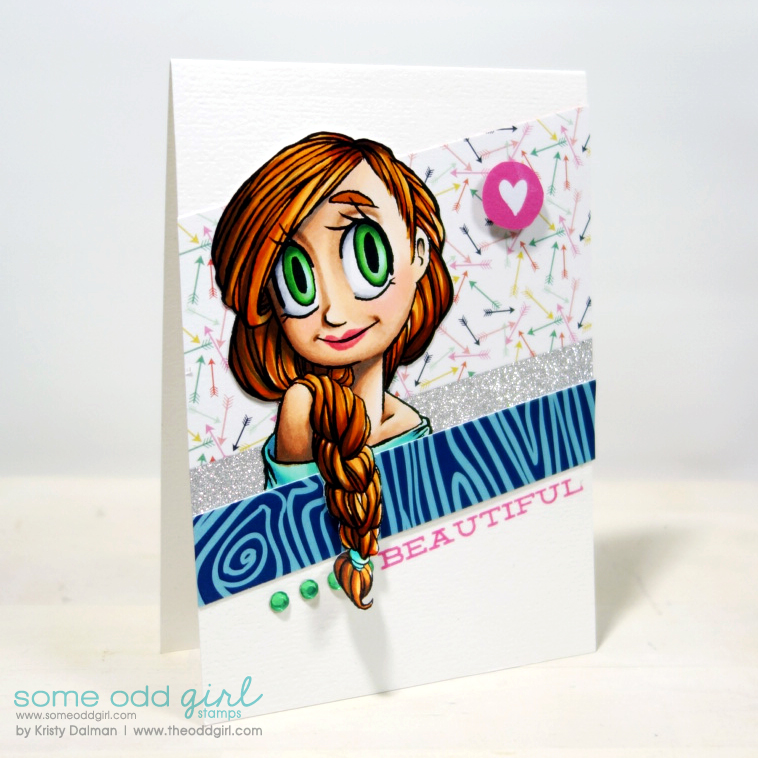
So I thought I’d do a pic to pic comparison to show the differences between the two. First I’ve got a pic of the set up on my crafty desk…

You’ll have to excuse the big huge mess on my desk LOL. I just had to get the baby set up when it came in! I got the 17″ tent so I could photograph LOs inside as well. I took pics of this card first in the tent then I took it out to my fav porch spot to get the comparison piccy. 
Tent
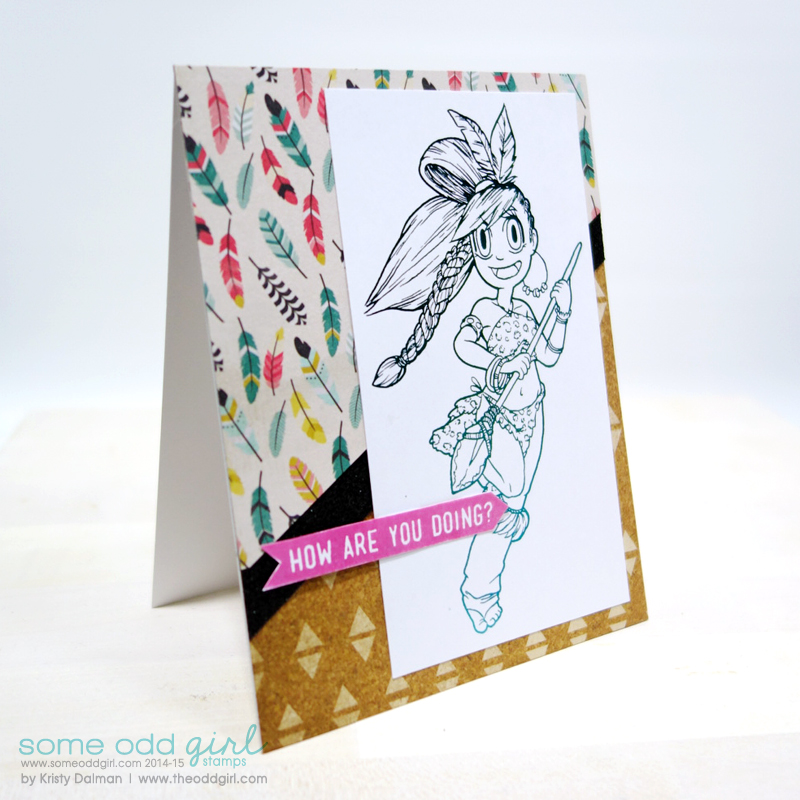
Porch
The only thing I did to both pic is go into photoshop and do the auto contrast/color/tone like I usually do. No other color adjustments. The one in the tent has brighter colors but is a tad yellow (which I could probably fix with some more dinking around) and the outside ones, the colors seem a little washed out (which could probably be fixed in PS too). But the one thing tent gives me over porch, besides being able to take good quality pics anytime, is the clean background. I don’t have a good way to set up a sheet or something outside to get that effect so I’m pretty enamored with the tent! Not to mention it folds back up to store.
Look at that, its only slightly bigger than my hand around! I think over all the tent was a good investment especially for how much I have to piccy my projects and later product for the store. I’m always the person who says “I can MAKE that! No way I’m paying $25 for THAT” well I paid and I’m happy with it. One word to the wise though, when you open that package for the first time SLOWLY uncurl the tent. Otherwise it may take your face off b/c it POPS open like a shot! Hence the caution I didn’t read on the front HA.
I’d love to hear what ways you get good pics of your projects! We crafters need to share our tips and knowledge! 
Lastly, and unrelated to this post, I finally got my video editing program, got my video fixed up and unless I break it into 3 parts its too big for youtube LMAO! So all that work is going to be chalked up to practice and I will start again. Maybe next Tuesday I’ll have a vid to share! 🙂
Stay Odd!
ps. Today is the Tinies big release at Some Odd Girl!
4 Comments
  • Tracey says:

    what a great idea, the light tent…not to expensive eitehr…good investment! and how about 'trendy tuesdays'?? just a thought!

  • Amy says:

    I have been DIEING to get a something to do my photos in the house with and this is fantastic! Thanks for sharing Kristy!

  • Kim Sonksen says:

    Well, why ever not – if I had a shop around here who'd sell a tent like that, I'd spent the $25 too! I just make do right now with the sheets of white 12 x 12 cardstock and one halogen lamp directly facing the project to be photographed. I would prefer less hassle :)))

    Anyhoo about the title: Tuesday Tuts? Tuesday Treasures? Tuesdays TiTeTu?

  • bosenberries says:

    Tent Tuesdays… or not!!!
    Maybe Try it Tuesday… then you could try something new????? Will keep brain storming….

Leave a Reply to Tracey Cancel reply

%d bloggers like this: